Updates to My Studio in a 100 Year Old Building
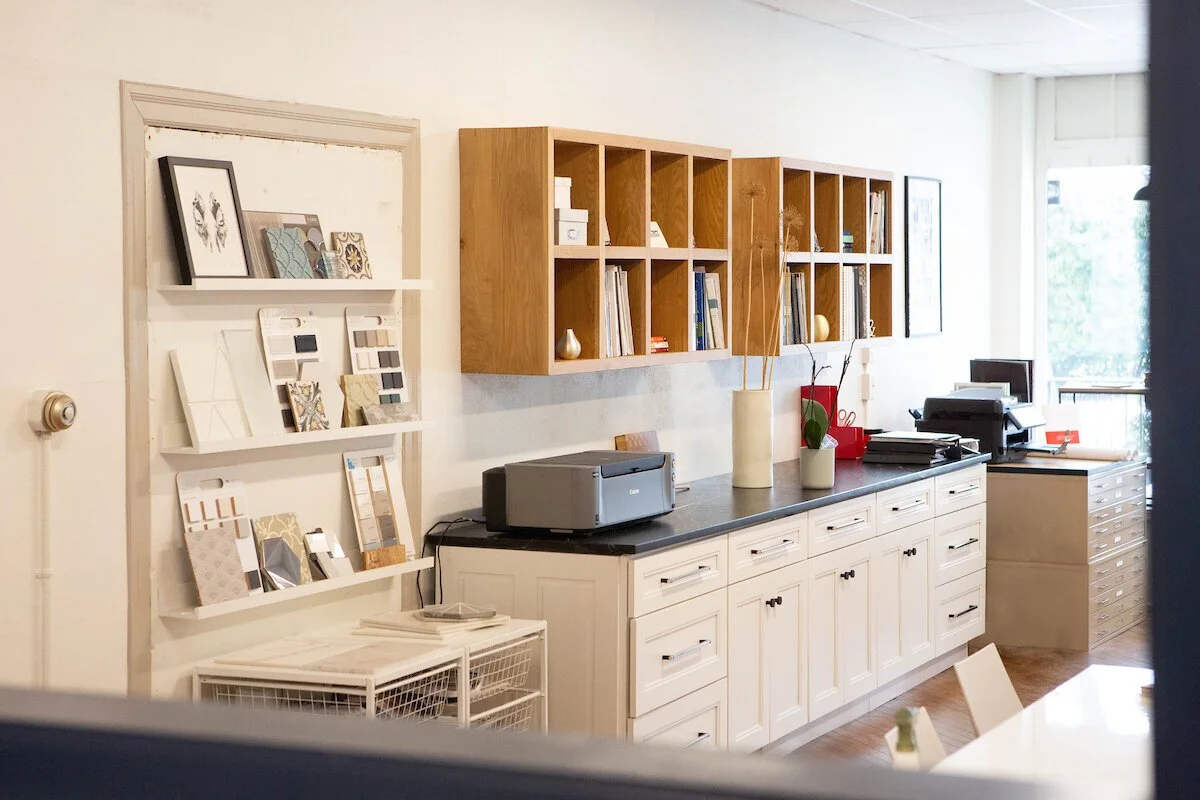
When I first started subletting my studio in March of 2019, I didn’t have access to the back room, so my main focus for about a year was making the front room functional (and cute). After purchasing the property, I knew that I wanted to put more of my focus on updating the back room so we could utilize the space as much as possible. I wanted to make a few changes to the space without compromising the character of this 100 year old building. This included polishing the beaten up floors (which I adore), reconstructing a dividing wall, and matching the new trim to the original.
Fresh Paint
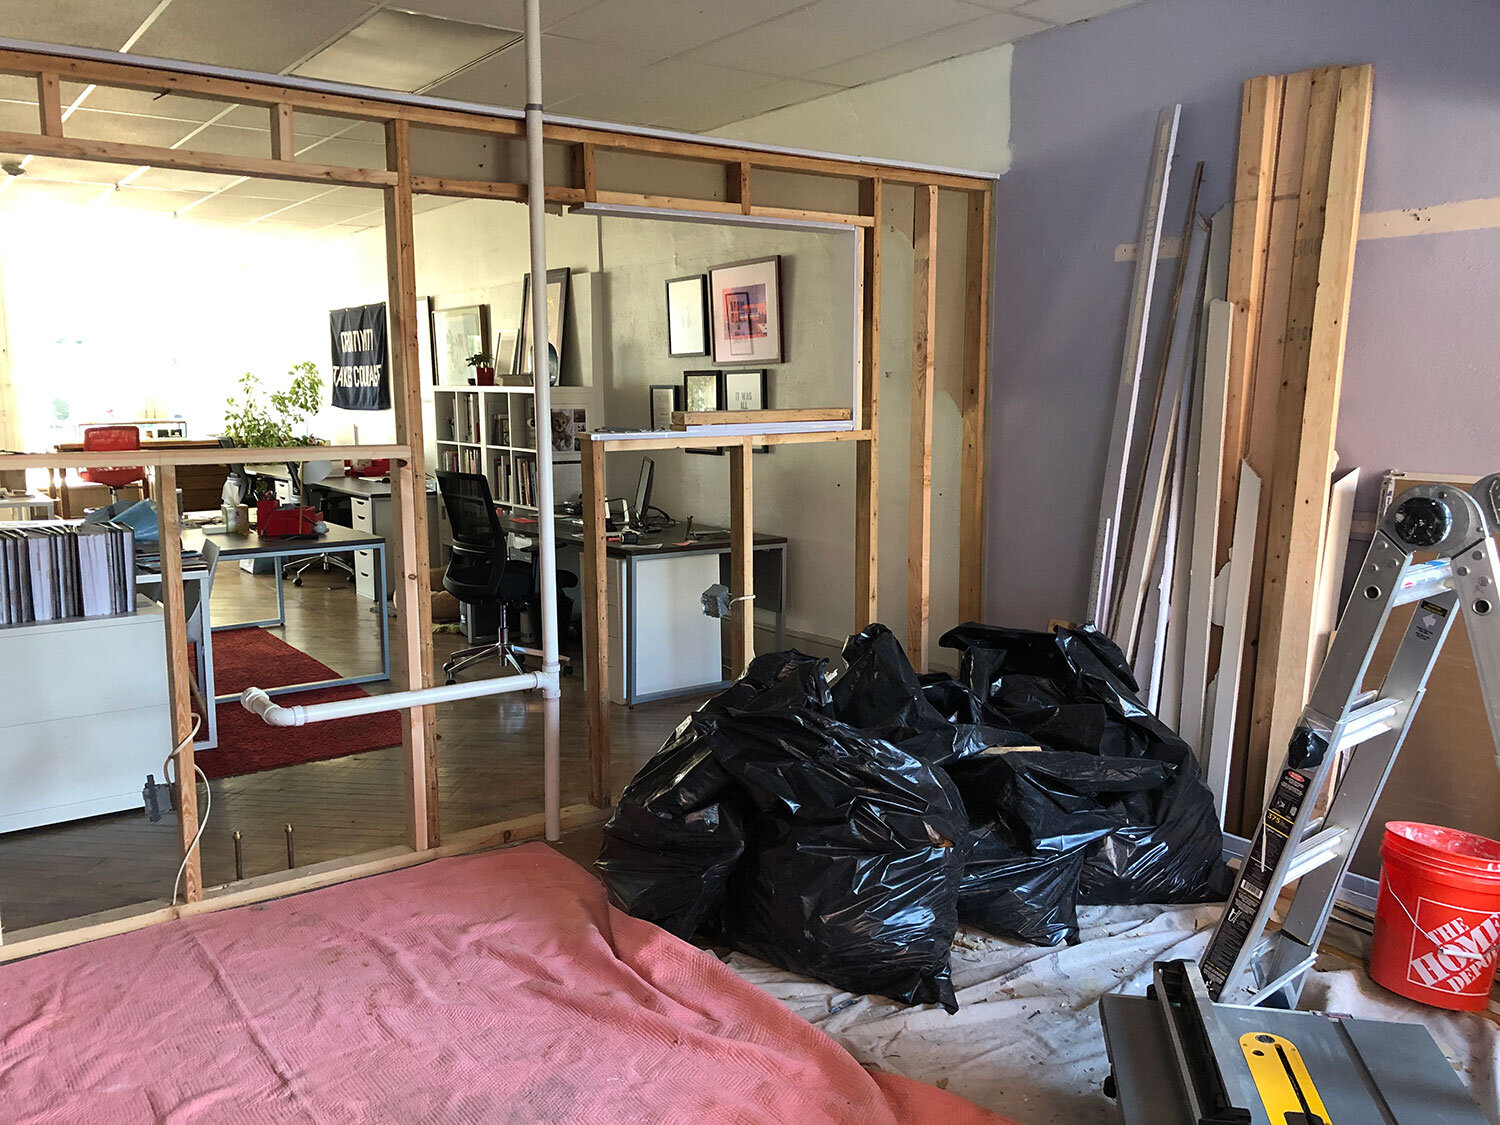
The back room was light purple...let’s just say it wasn’t on brand for SG23 Design. But before paint, walls needed to be patched and old trim was removed. Having a space in a building that’s over 100 years old is definitely interesting. Some walls are plaster, others are drywall and others are homasote. My contractor and his team made the transitions as seamless as possible, by texturizing any of the flat walls to look like plaster. In other areas the homasote was replaced with drywall. After all the walls were prepped they were painted the same color as the rest of the studio—Greek Villa by Sherwin Williams.

Before

After
New Trim
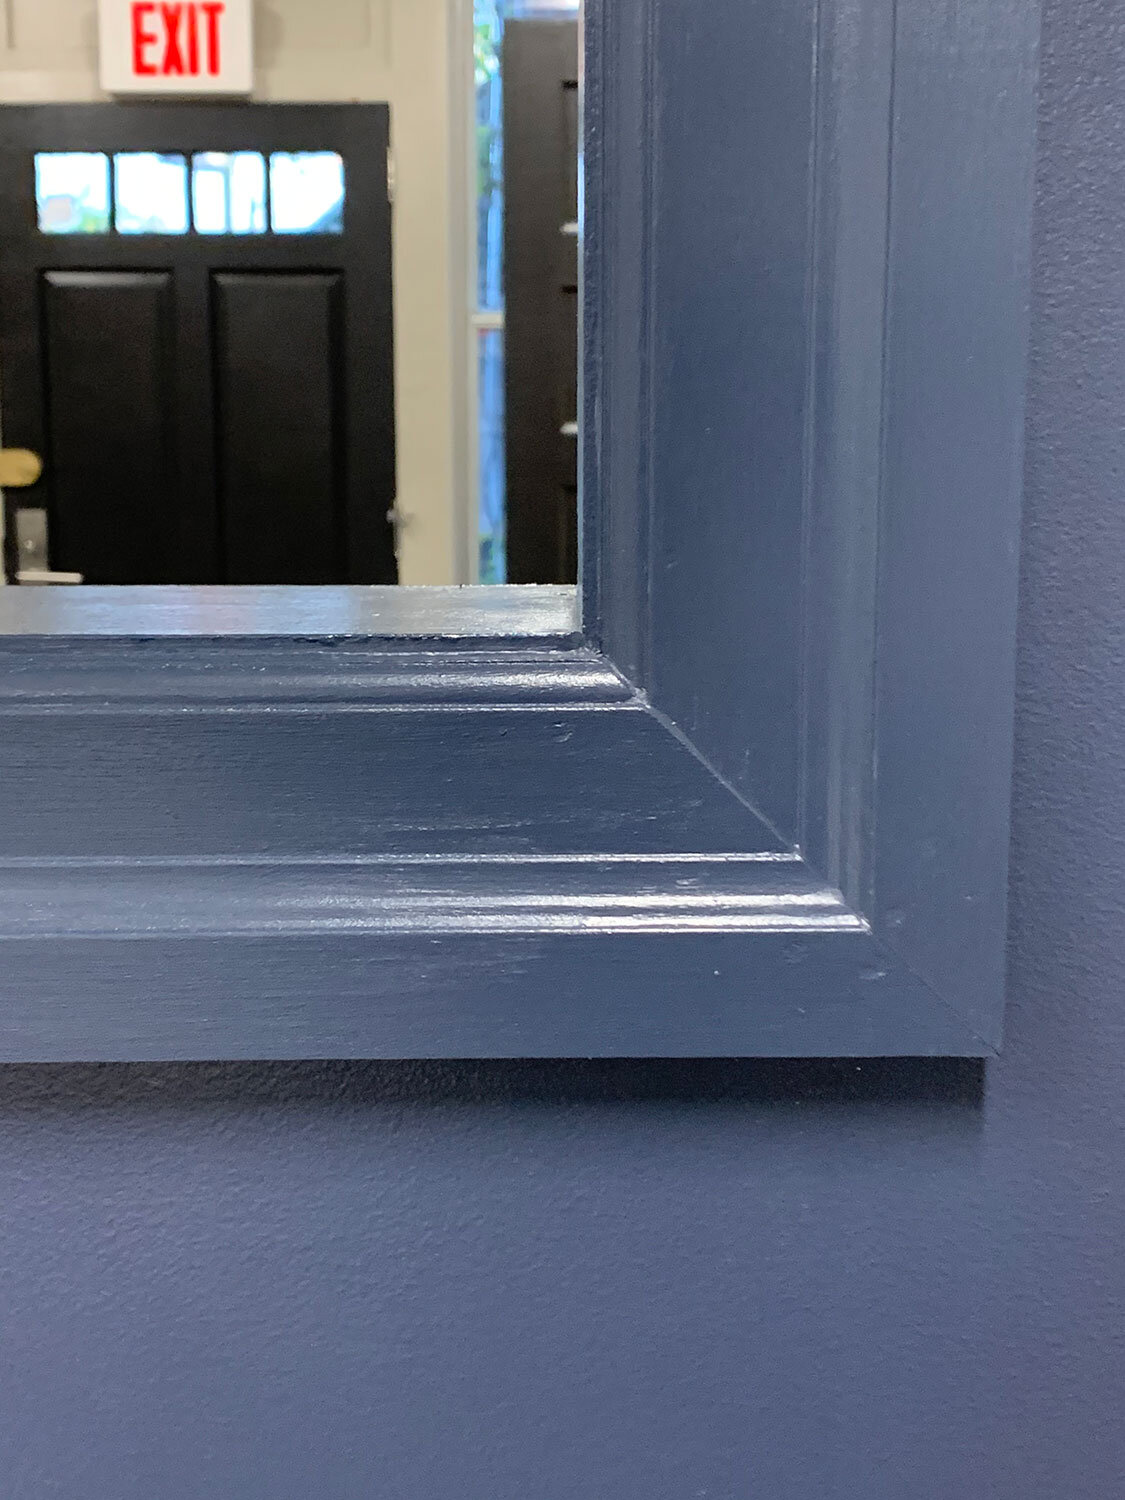
The quarter round where the baseboard meets the floor was really beat up and since the floor was going to get sanded down and given a new coat of polyurethane, this was the time to address it. Working with a knowledgeable contractor is such a dream—you can have such great conversations about the small details that really make a room special, like trimwork. We decided to use an alternative for the quarter round that had a slightly taller profile and also complimented the existing 10 ½”H baseboard.
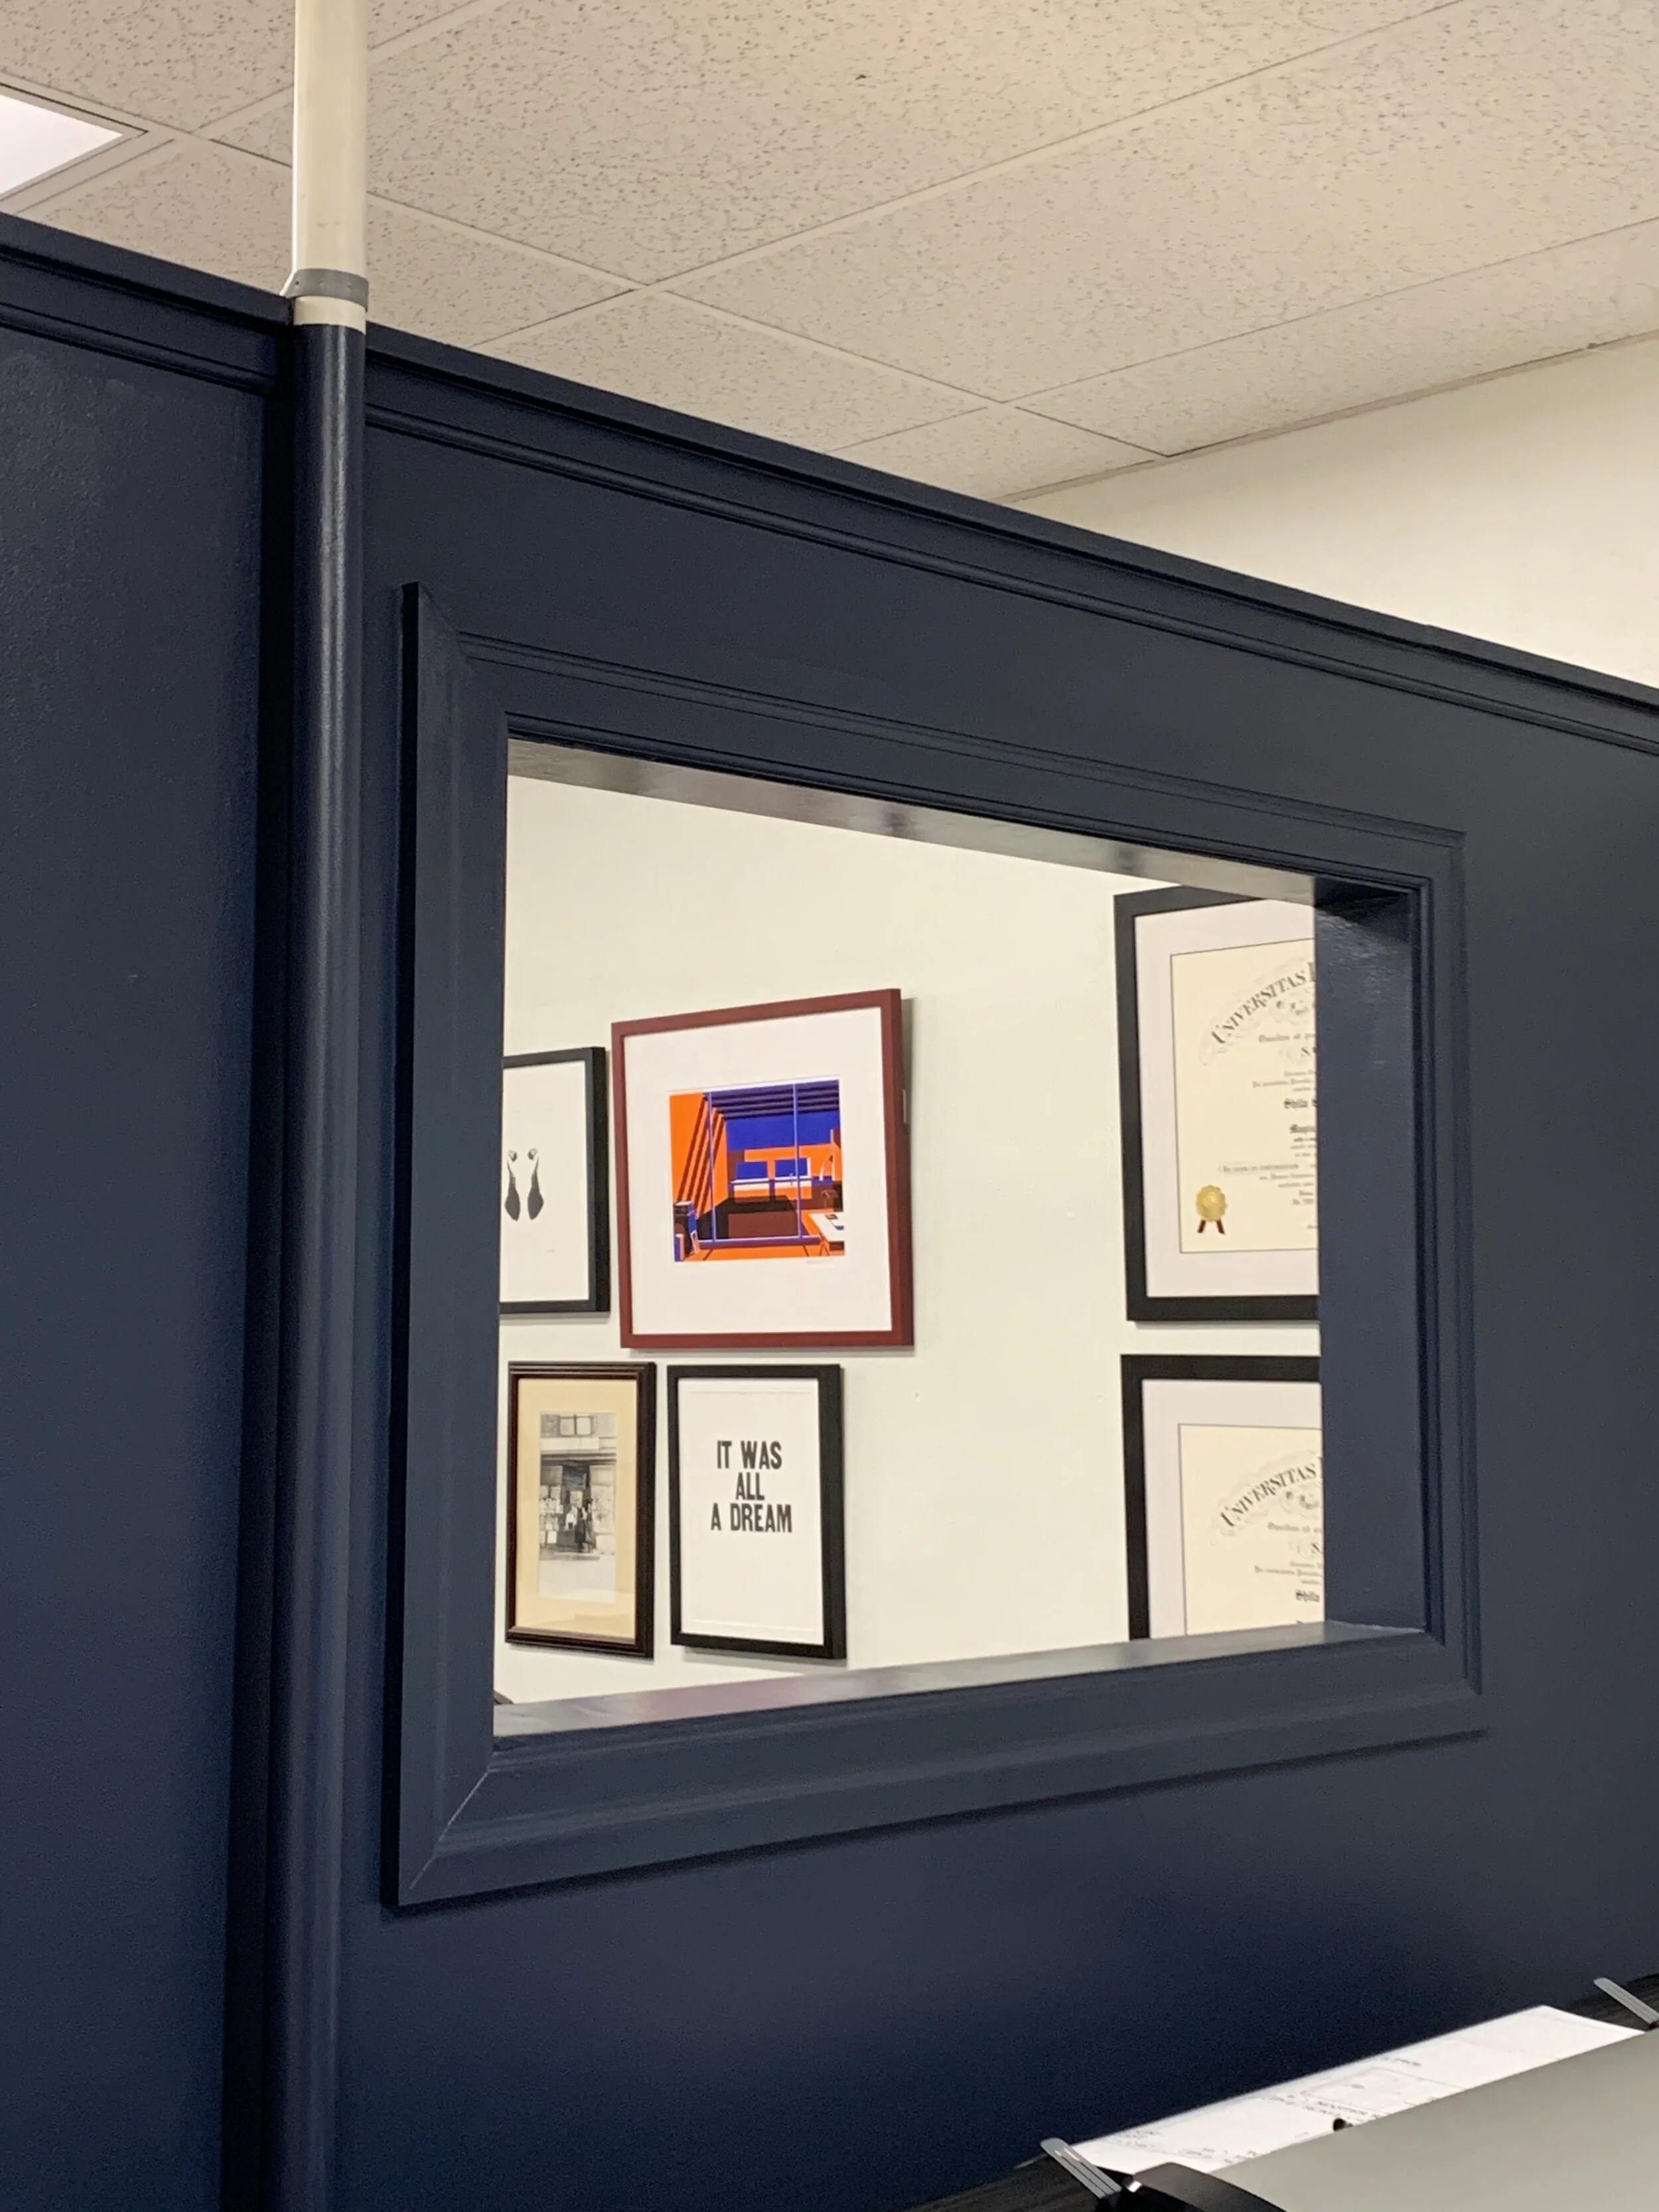
The trim around the windows was pretty beat up as well. We used the same casing that we used to frame the opening in our accent wall, but our contractor ripped the trim (cut it lengthwise) so we used only the more delicate part of the trim. It was a great way to maintain visual consistency throughout the space.

Before
After
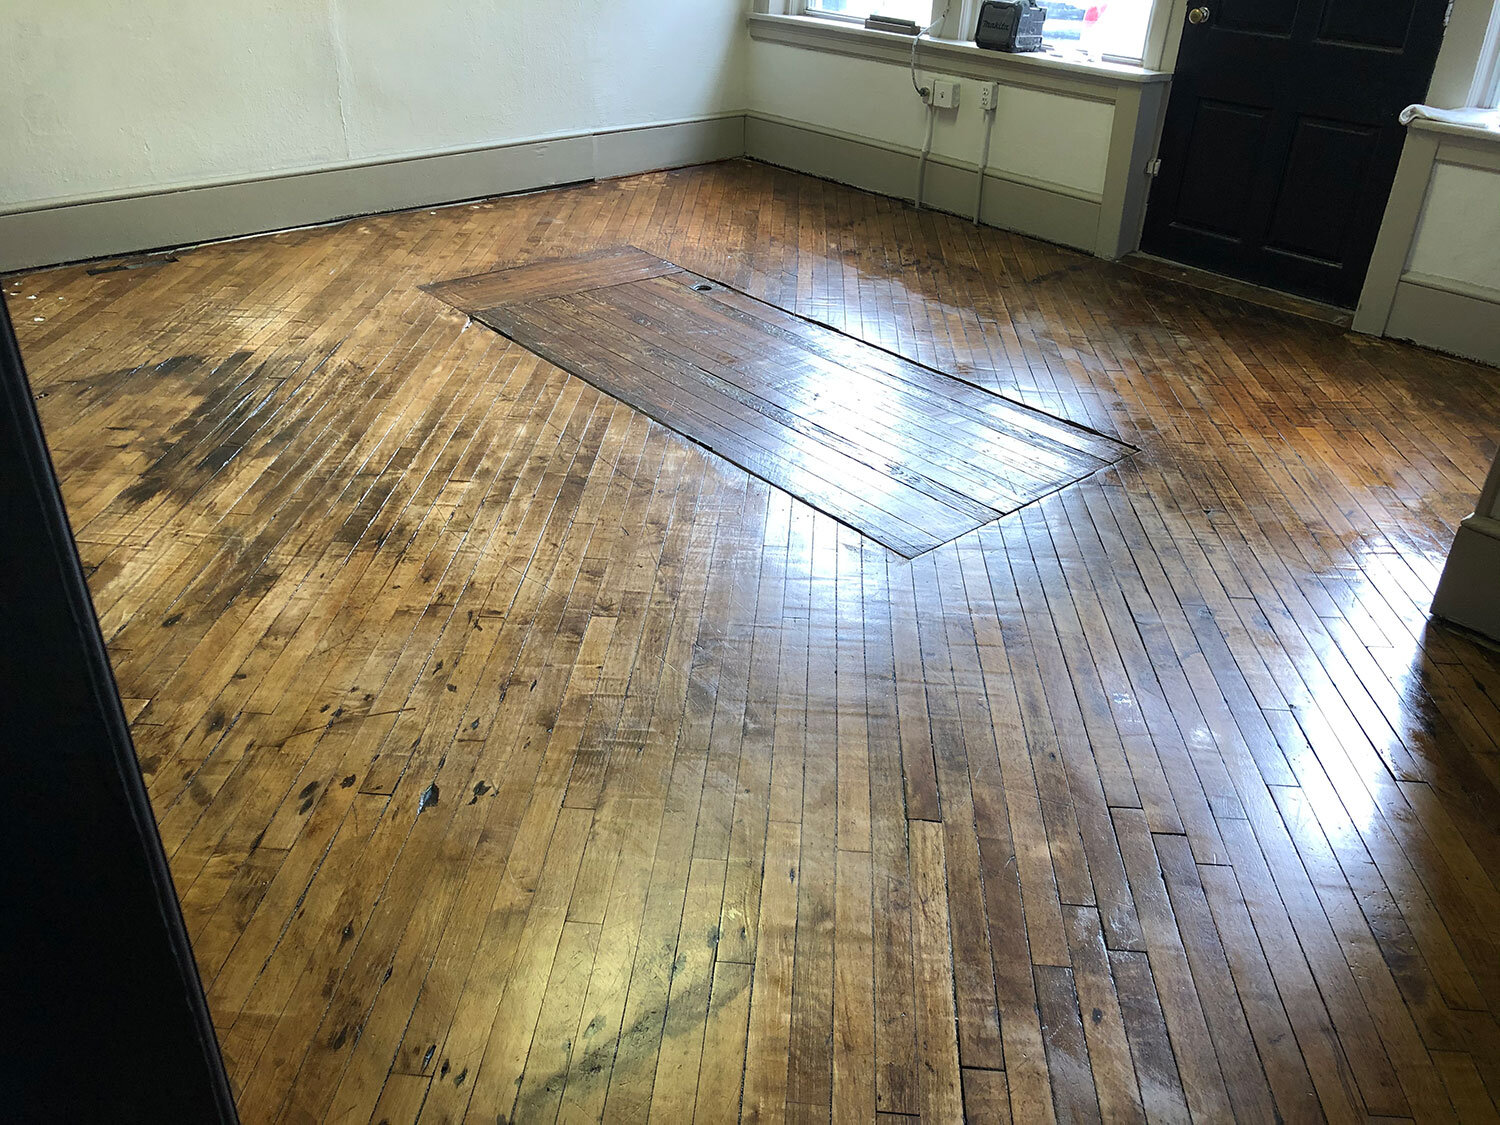
Refinishing the Floors
If you’ve ever moved, you know that once you move furniture into a room it takes a lot of motivation to move things back out to address the floors. Our studio wood floors are over 100 years old. They’re beat up, you can see old paint splatters, old circular sanding marks…...and I absolutely love it. The planks are also over an inch thick which is nearly impossible to find these days.
That being said you could see a clear difference between the floorboards in the back room and the front. The floors in the back were much drier and hadn’t been maintained in quite some time. I wanted to get them sanded down a bit and a new coat of polyurethane applied for protection from additional wear. Since the back room was still empty the timing was perfect.

Before
After
There’s a lot more work to be done in the back room, but it feels so good to have a refreshed palette to start with! If you’re looking for the same, give us a call!
Related Blog Posts