Case Study: Homewood Comfort
The initial project scope included converting this family’s garage into a laundry room, mudroom and powder room–a great project for a firm that happens to love space planning! We created all these spaces and more with the final design.
One of the biggest priorities was having the bulk of construction happen over the summer so that it was easier to manage schedules with two younger children. As a result, we started with a Boutique Consultation in June of 2023, worked through the design process, interviewed prospective contractors, and got into their selected contractor’s calendar (Jenkins Construction Services) for the following spring—May 2024.
Since this couple planned so far ahead, instead of spending all their time in a construction zone, they were able to take advantage of the summer months and take the kids on long weekends and day trips to get out of the house during some of the most invasive parts of construction.
What We Started With
Previously, when you walked into the kitchen there was a booth and small pantry to your left, that were no longer serving all of our client’s needs. Additionally, like many families, the garage wasn’t used for cars, it was used for storage. Our client had a shed built in their backyard and had everything in the garage moved into that structure before the contractor started demolition. Moving everything out of the garage provided us with the shell to create several new spaces.
Old Floor Plan
New floor plan with coffee bar and powder room
Coffee Bar
We got rid of the booth and the old pantry to completely reconfigure this area. A small, but influential part of the design scope included widening the cased opening from the kitchen to the dining room towards the back of the home. We relocated the refrigerator to the south side of the kitchen (where the booth used to be). That resulted in a bit of new cabinetry and ultimately led to addition of a coffee bar to the project scope.
If you’ve seen some of our past projects, you know we love designing a coffee bar. For this renovation, it was added under their existing window which provides a perfect view to the walkway leading to their front door. Conveniently, while someone is preparing a hot coffee in the morning, the refrigerator is right there for easy access to creamer or half and half. Our clients excitedly started filling up the coffee bar area before construction was completed!
The new warm white cabinetry contrasts, but also coordinates with the existing white-washed cabinets throughout the rest of the kitchen. The countertop is a matte porcelain.
Powder Room
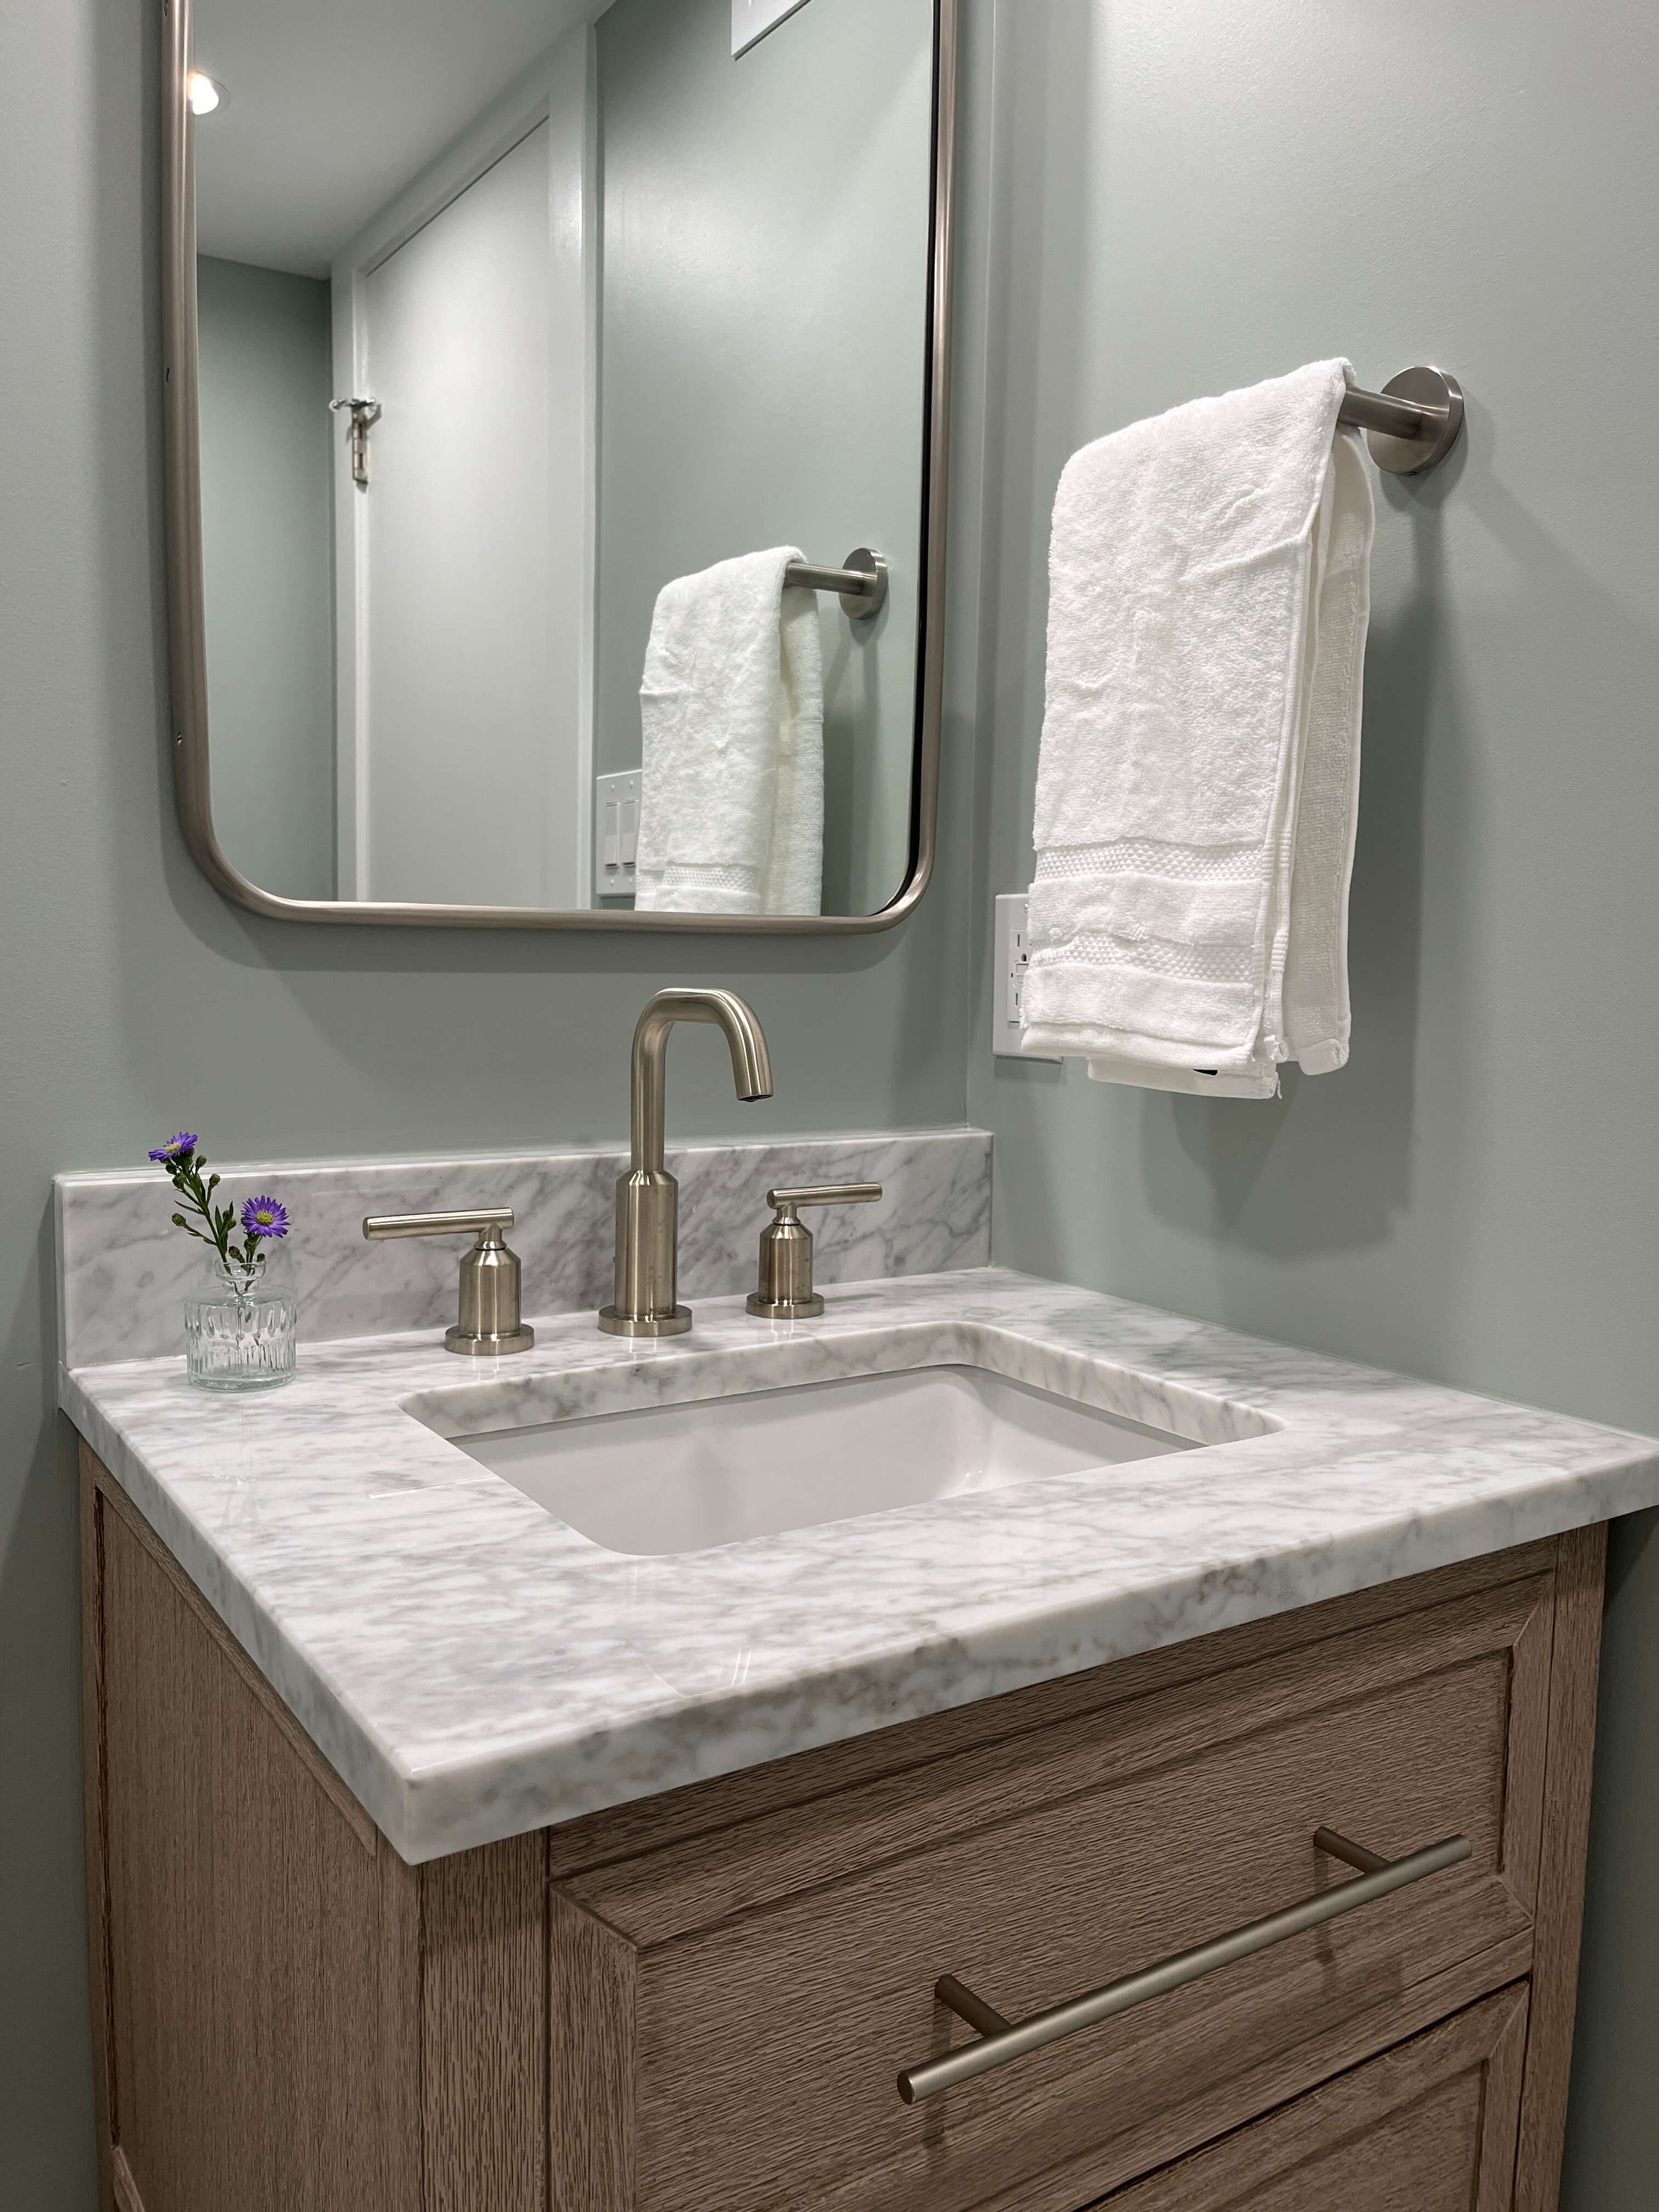
Placement of the new powder room was a bit tricky because there were several significant challenges.
Challenge #1 - We had to tie into the existing plumbing
Since the basement was under only part of the area being renovated, that limited where we could locate the new powder room because we wanted to avoid cutting the concrete slab in the garage to run new plumbing.
Challenge #2 - Plumbing for the vanity
You don’t want plumbing on an exterior wall because you run the risk of pipes freezing in the winter. The best solution was pack out the vanity wall a few inches so that all the plumbing could be further from the exterior. We also had to pack out the wall opposite of the powder room door so we could run additional plumbing lines for the washing machine in the new laundry room.
Challenge #3 - Sight lines!
We were careful with fixture placement, so that you see a wall instead of the toilet while looking into the powder room from the coffee bar area.
After a few passes at space planning and many discussions with the contractor from a plumbing standpoint, we finalized the new powder room location.
Powder Room - Interior Elevation
Pantry + Pantry Overflow
When you walk past the coffee bar and turn left, you step down into the pantry overflow area. We needed a hallway for access to the new pantry and laundry room and there was a bit of extra space to the left as you walk down the stairs. Our design called for base cabinets and countertop space in what we call the “Pantry Overflow”. This area will be used for extra storage when the pantry is full or to serve as supplementary food prep space. We opted out of adding upper cabinets so that we could add windows and bring in some natural light.
Placement of the split system to heat and cool all these spaces was also challenging because we needed to tie into the exterior condenser under the carport. This meant that the head units needed to be close to or on the west wall. One head unit was placed in the pantry (above the adjustable shelving), so we opted for a louvered pocket door. That way the pantry could be closed off when needed, but still allow for air flow.
Laundry Room
This space was the driver for the entire renovation. The old laundry room was in the basement—not uncommon, but also not ideal. During the initial walkthrough during the Boutique Consultation, I noticed that our client was very organized. She had multiple, labeled laundry baskets in her old basement laundry room. As a family with children, you can imagine how important this system was for efficiency! In the Boutique Consultation recap, I noted the following client needs:
Ideally fit 4 laundry baskets to sort dirty clothes
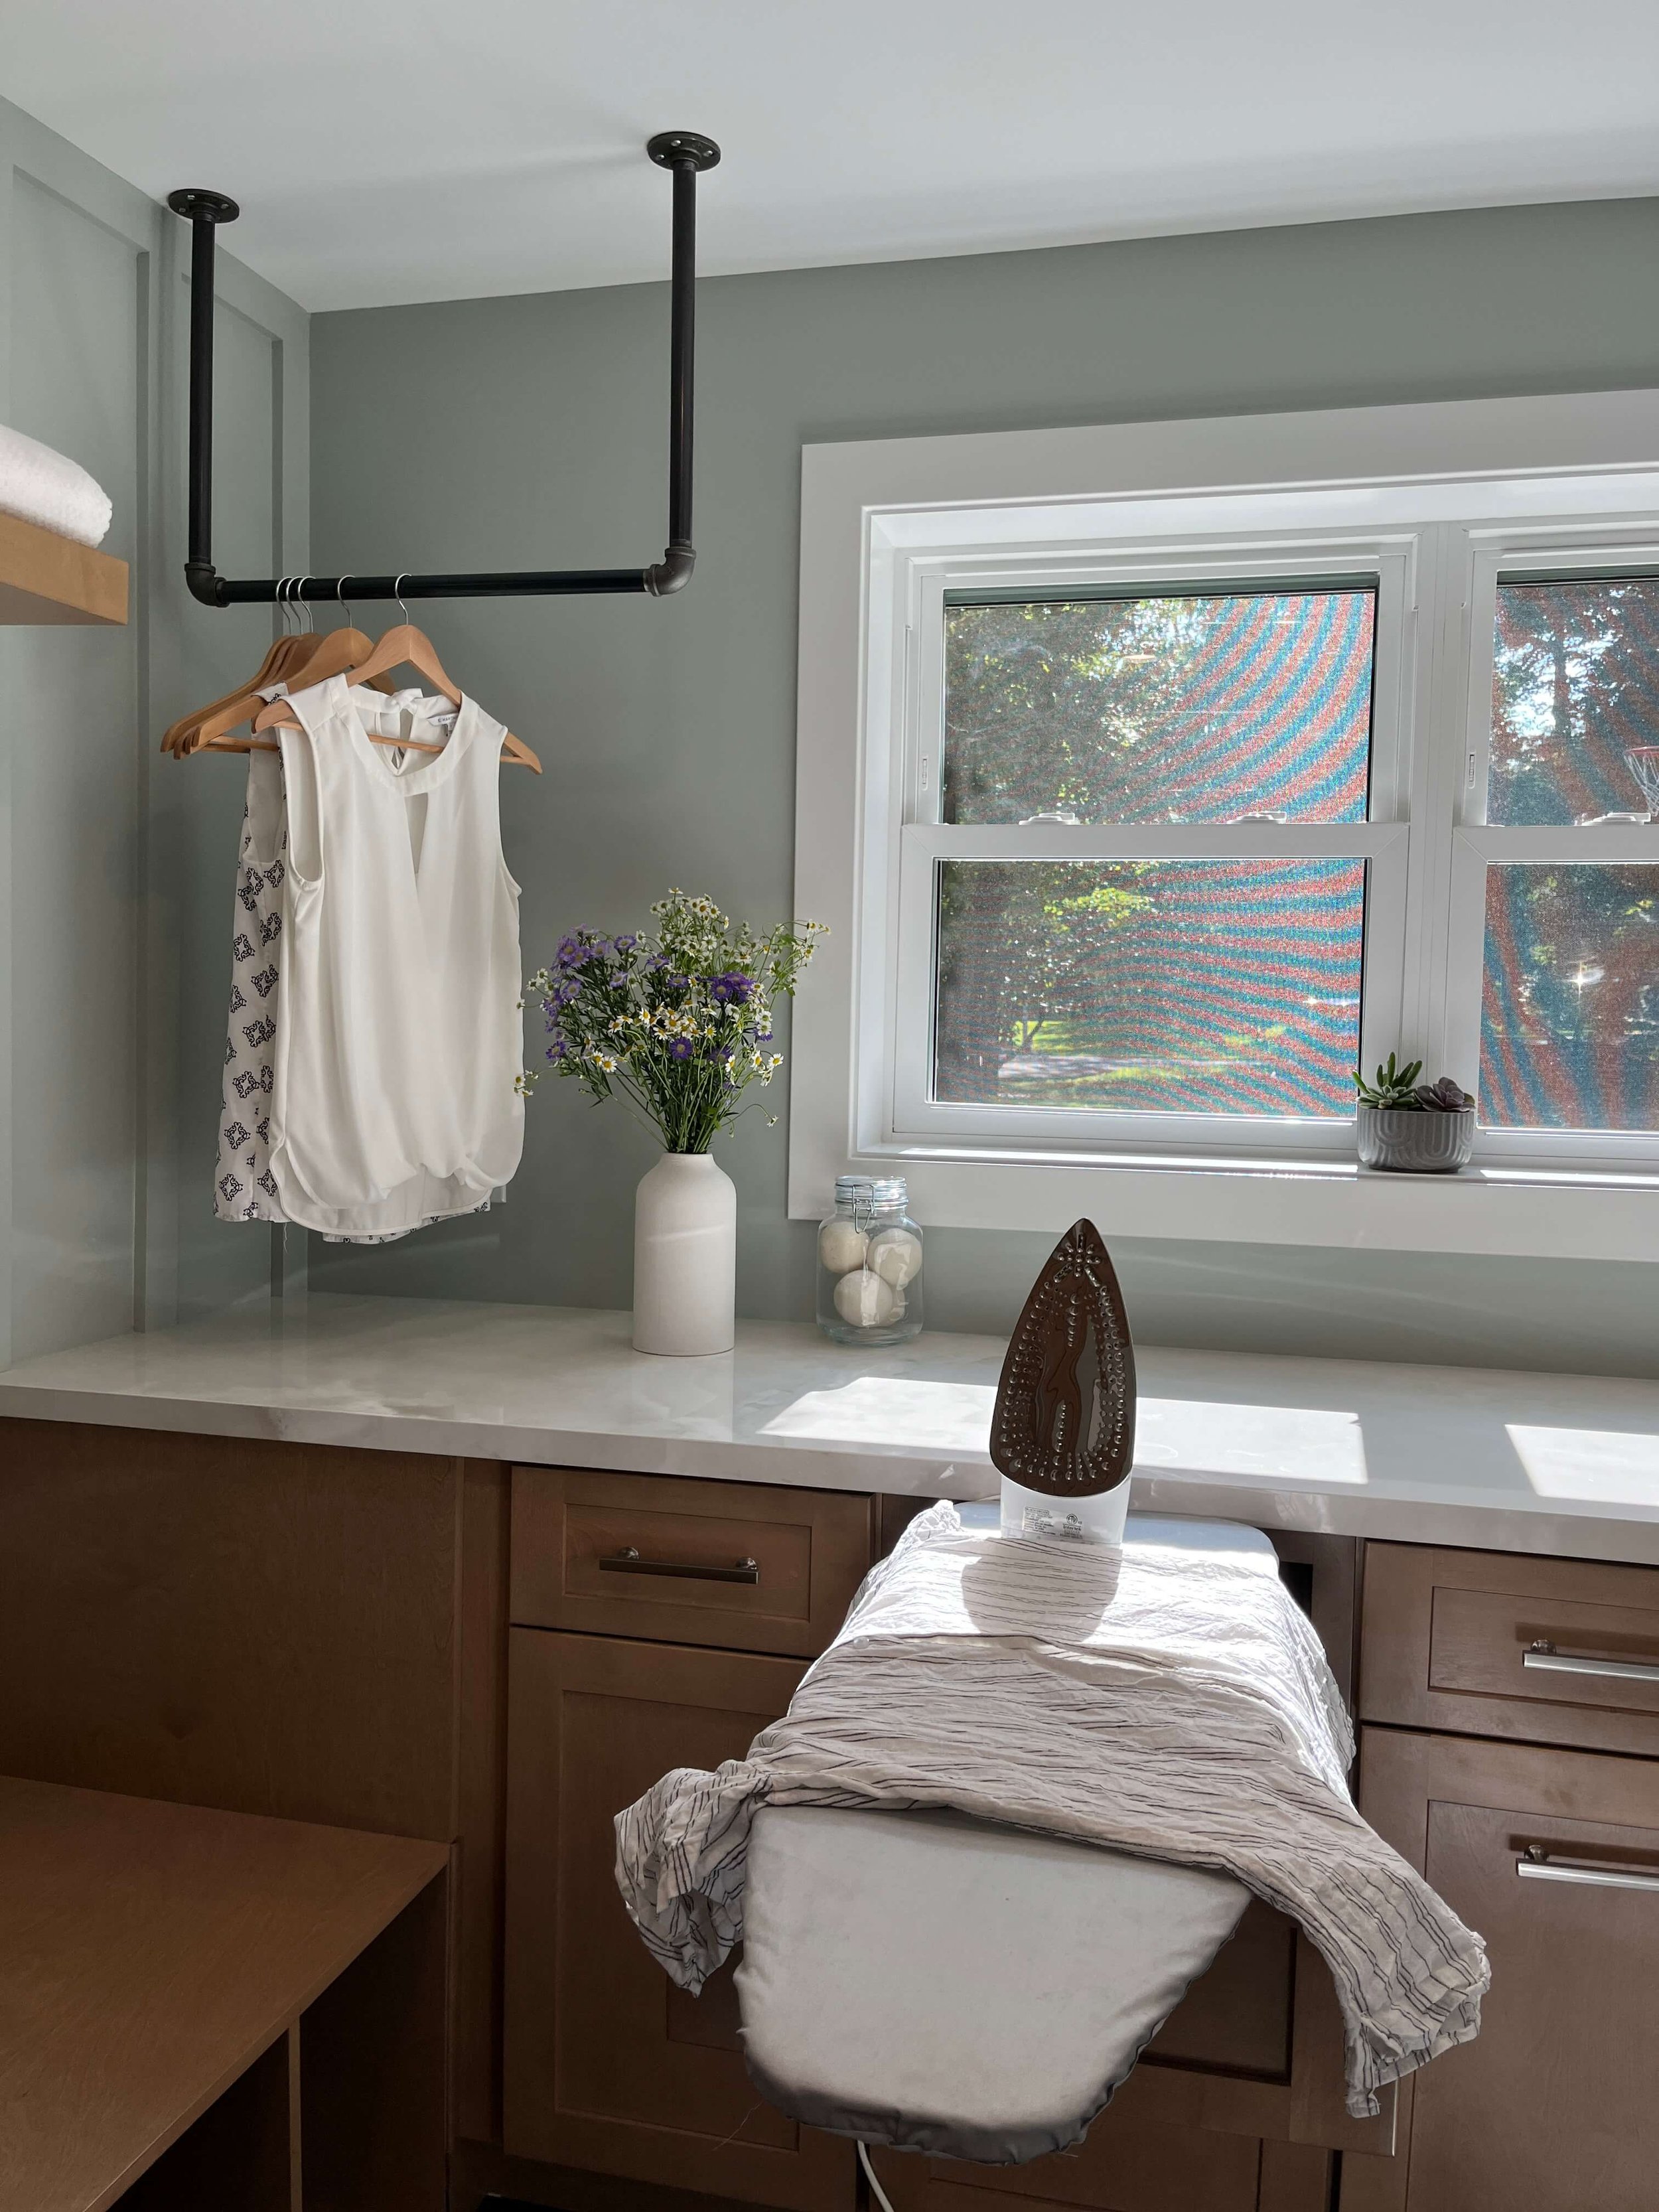
An area to hang clothing to dry
Space for an ironing board
A side-by-side washer and dryer
We kept these wishlist items in mind while space planning the laundry room. As you walk into the sun-filled space, to the left is a tall, full-depth pantry cabinet. To the right of the pantry cabinet is a board and batten wall painted in Sherwin Williams Comfort Gray. Here we have a bench with shoe cubbies below and coat hooks above. We essentially combined the laundry and mudroom into one space.
Mudroom Wall - Interior Elevation
The garage door on the south wall was replaced with two windows. Flanking these double-hung windows are two ceiling mounted rods to dry clothing. The base cabinetry and the functional inserts on the same wall are what really make this new laundry room special. We managed to fit 4 hamper pullouts to easily organize dirty clothes. Simply having enough space for 4 laundry baskets would have sufficed, but who wants to see laundry baskets on their countertop, when they could be hidden away?
I mentioned that our client needed space for an ironing board. At first, we planned for a countertop ironing board, which our client was content with. But my wonderful team did some sleuthing and found an ironing board insert that fits in a drawer!
Ironing Board Drawer
Hamper Cabinet Pullouts
Opposite of the window wall are the side-by-side washer and dryer with an open shelf and the 2nd split system head unit above.
Primary Bath
During our Boutique Consultations we discuss any space(s) the homeowner would like that can fit into the two hour session. That sometimes means spaces that the client doesn’t intend on tacking for a few years. In this case, we had time to discuss the primary bathroom.
We discussed a lot of improvements in here—a new standup shower, more storage throughout and updating all the materials and finishes. As we discussed construction, our client decided to add this bathroom renovation to the scope. In general, the more spaces you renovate at a time, the more cost effective it is overall. You’re also consolidating the overall stress of a renovation.
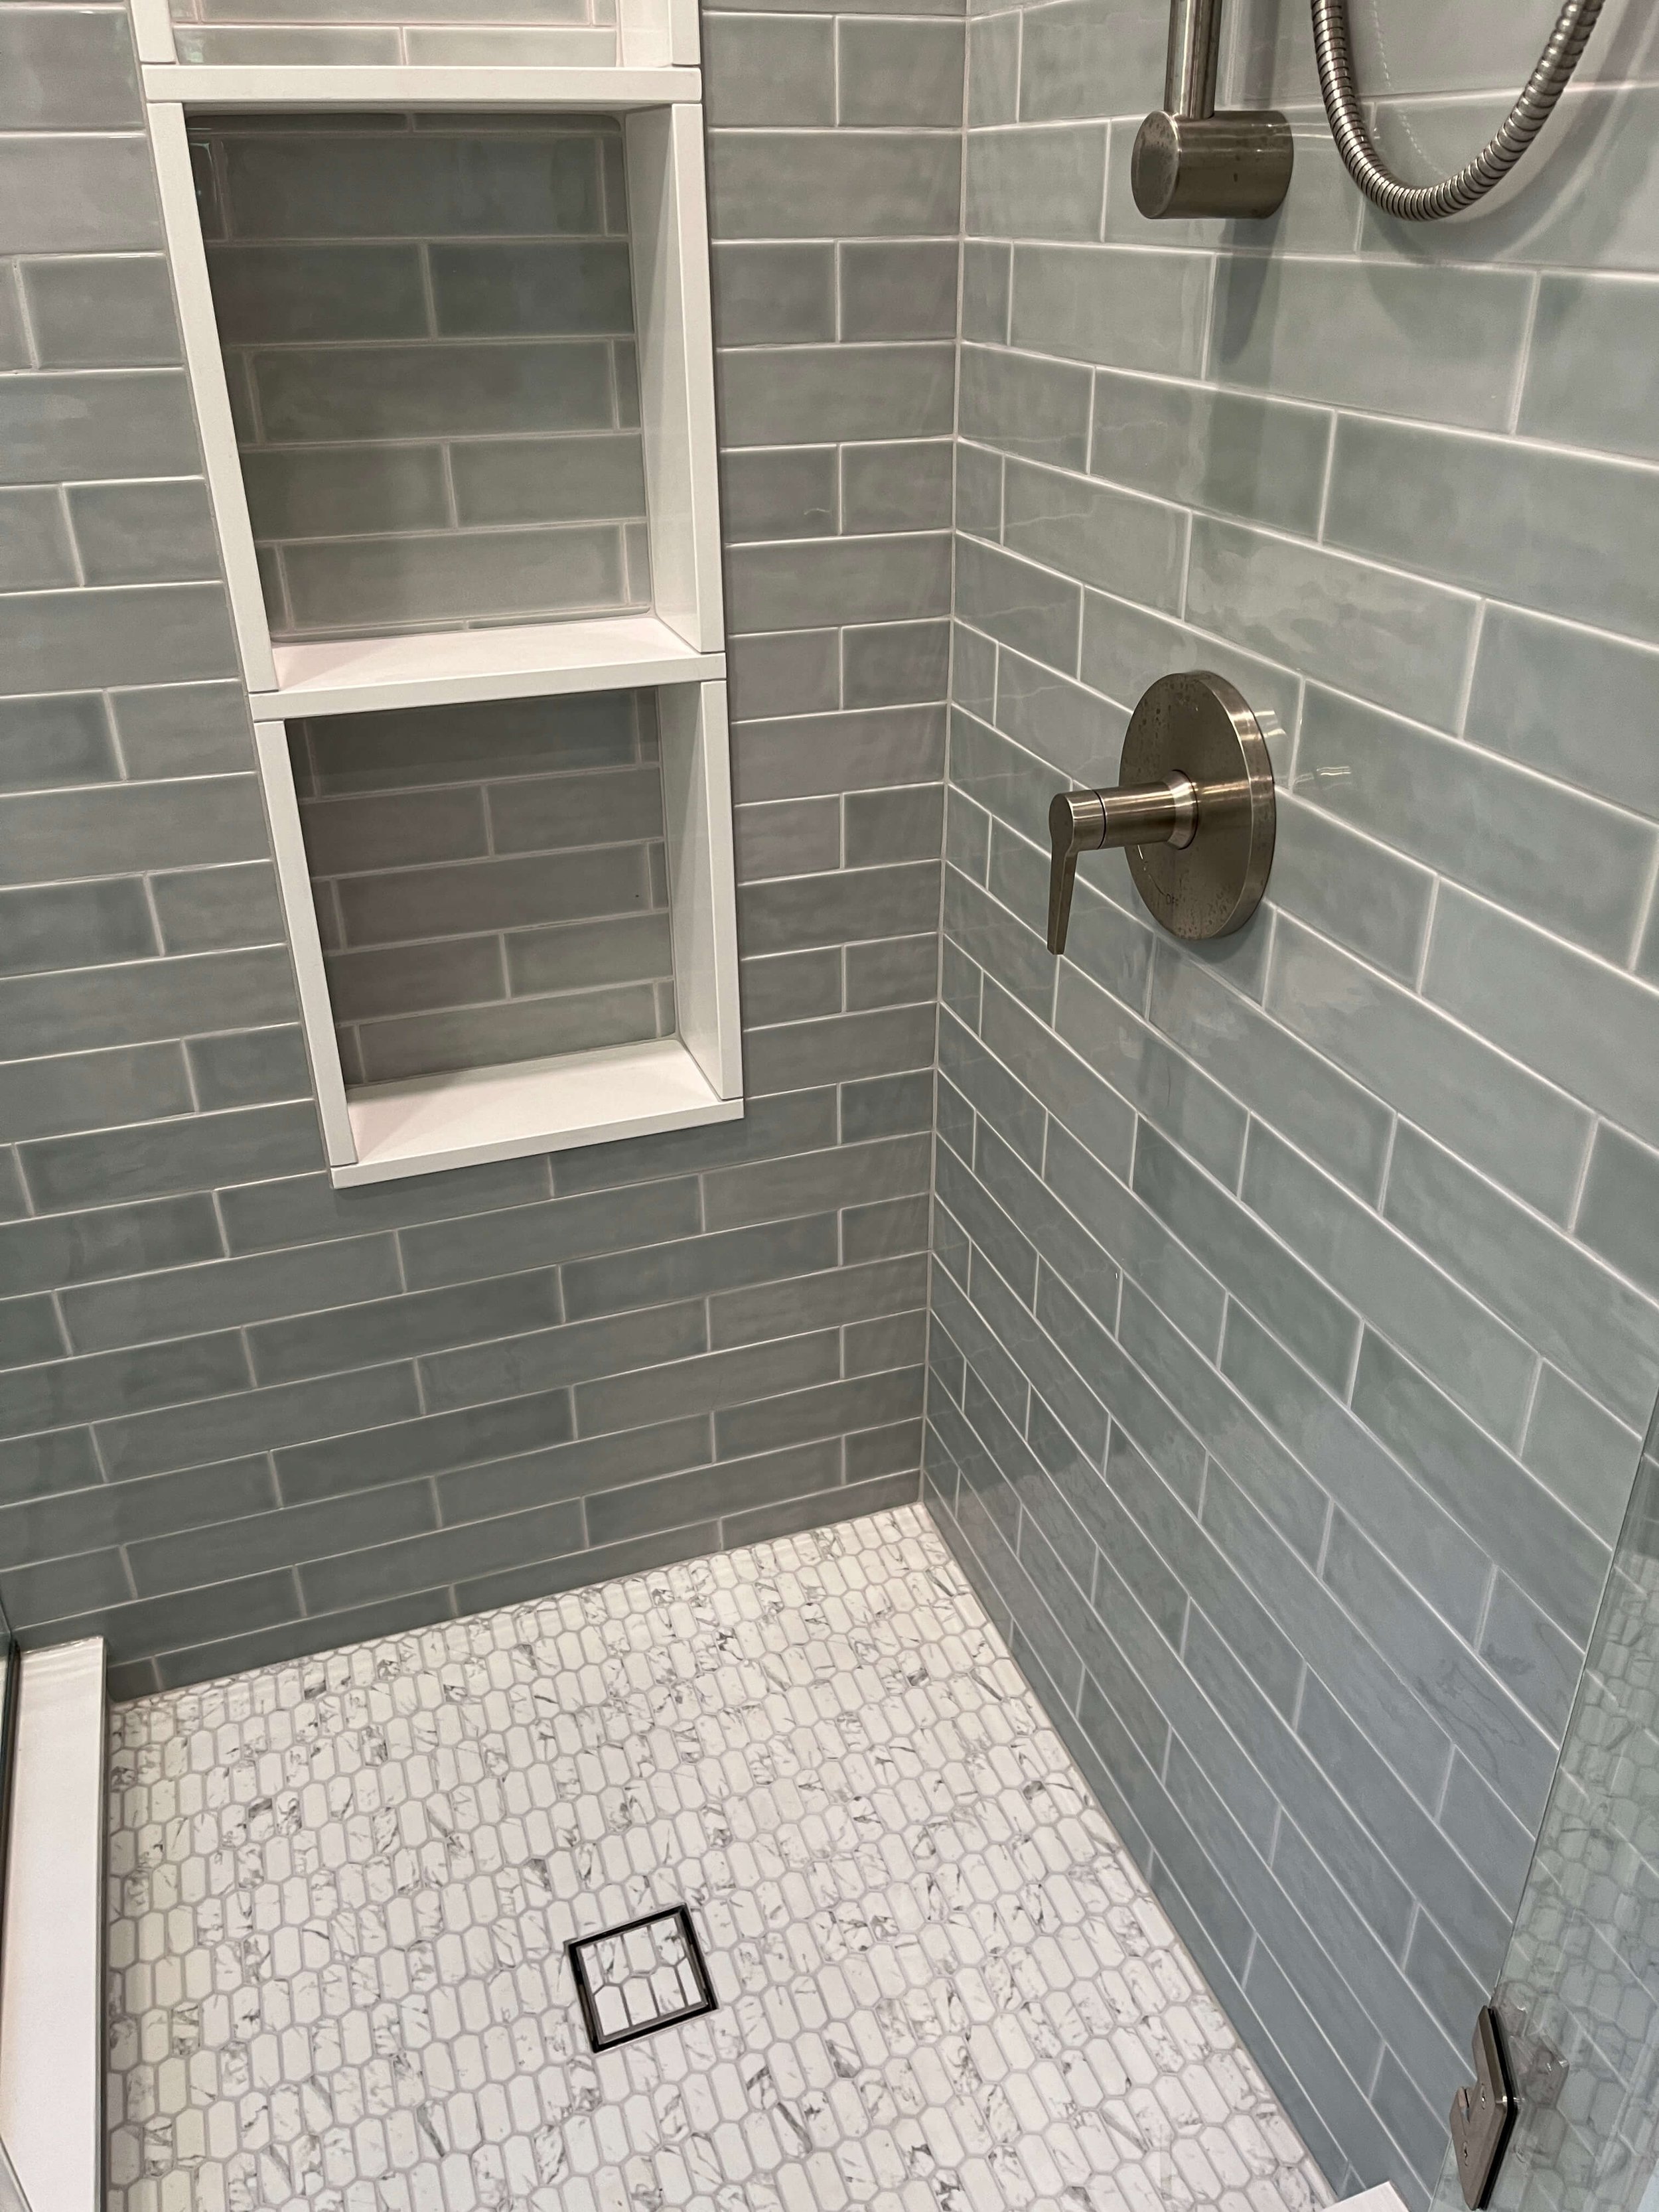
The shower became much more functional with updated fixtures, frameless glass and a shower niche. The materials and finishes include a fresh, light sagey green subway tile (their favorite part!) and a marble-look enameled glass mosaic floor tile. The lighting was also improved tremendously.
Old Primary Bath Shower
New Primary Bath Shower
Wishlist Priorities
It’s very seldom that we can get everything on a client’s wishlist into a design because there are always limitations we need to work around, like budget and timeline. In this particular case, our homeowner’s top priorities were function related, which often has more to do with space planning and design, not necessarily the most extravagant materials and finishes. Our design process was a perfect fit for their project because we feel that effective interior design works before adding beautiful materials and finishes to the mix—those elements are a bonus.
If you value function and efficiency as much as we do, let’s chat!


